Homemade Coconut Milk Yogurt!

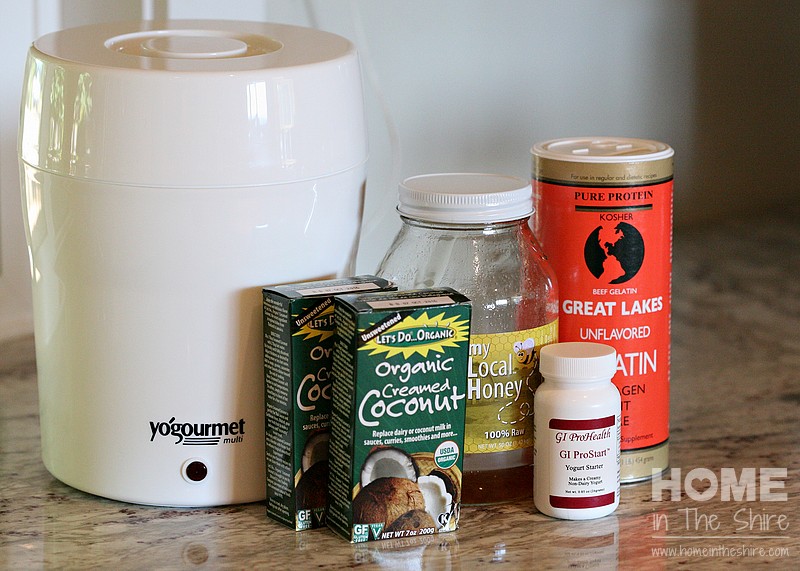
I am excited to share this recipe. After doing a lot of reading on GAPS and SCD groups, I ordered this yogurt maker. I also ordered two glass jar inserts. The yogurt maker comes with an insert, but it’s plastic and I don’t like the lid. I started with one glass jar, but ordered a second so that I can start a batch while the other is still in the refrigerator. I’ve also been making dairy yogurt for myself, which is also really good. My hope is that one day I’ll be able to make 24 hour dairy yogurt for the girls to enjoy. In the meantime, I’m excited to be making coconut milk yogurt! First you’ll need to buy or make coconut milk. Making your own is easy and it’s better for you. It’s also less expensive. I shared my recipe here. I use creamed coconut and water to make coconut milk.
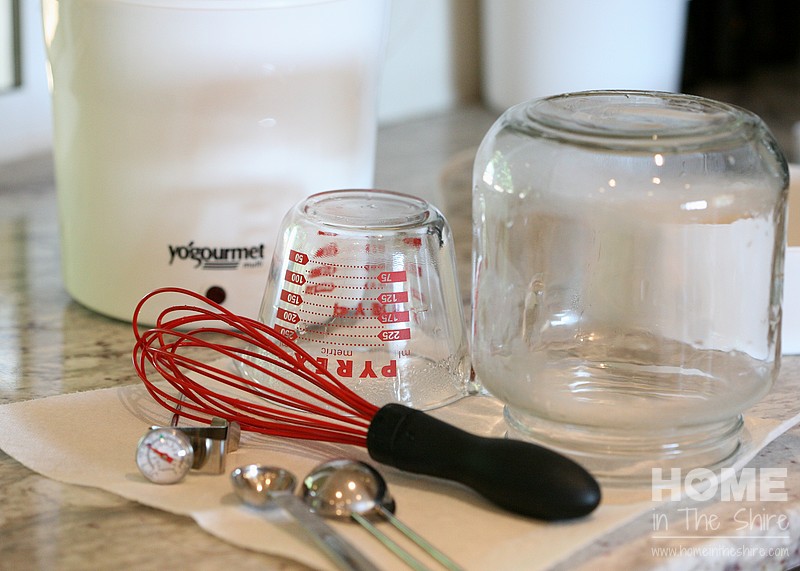
To make yogurt, start by pouring boiling water into the jar and over all cooking utensils, then let it air dry on a paper towel. This helps to sterilize the container and ensure nothing interferes with the healthy bacteria working to transform your milk into yogurt.
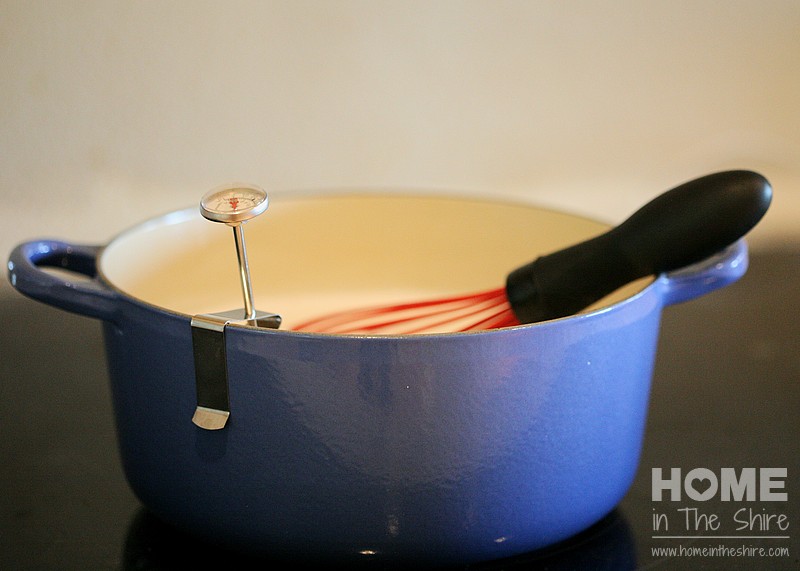
 Slowly bring the coconut milk up to 180 degrees, stirring to keep from burning, and then remove it from the heat. Add the honey and stir thoroughly. Honey or another sweetener is necessary when making alternative milk yogurt because it provides the right environment for the starter. At this point remove about 1/2 cup of the milk and cool it quickly in the refrigerator.
Next, sprinkle the gelatin over the cooled milk, mix thoroughly and return the mixture to the still hot coconut milk and stir really well to combine. Once the gelatin has been added, place the stockpot with the lid on (so nothing gets into the milk) in a sink full of cold water and wait for it to cool to about 100 degrees. You can leave it on the stove to cool, but I don’t like waiting that long.

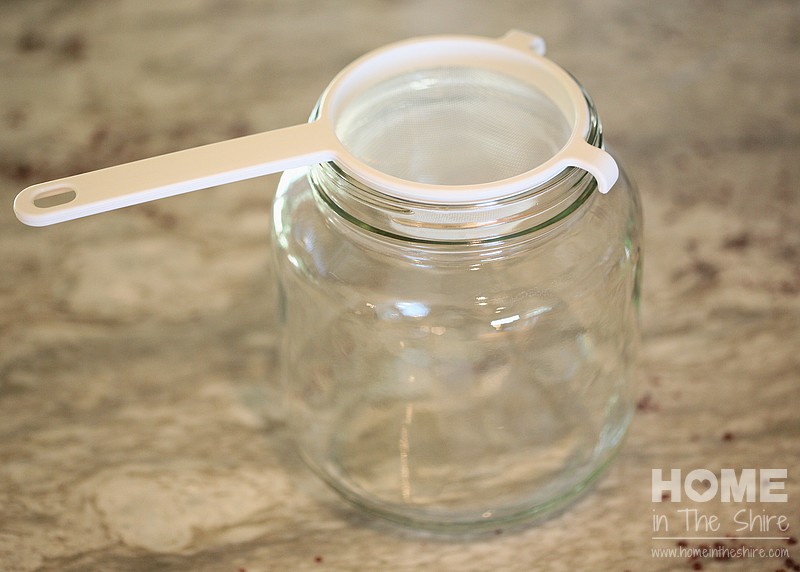
You don’t want the milk too hot or the starter will be destroyed. Once it has cooled to around 100 degrees, repeat the process used with the gelatin to add the yogurt starter. Remove about 1/2 cup of the cooled coconut milk, sprinkle and mix in the starter, then return this mixture to the pot of coconut milk, and again mix it very well. Lastly, pour the milk through a strainer into the yogurt jar. Straining it helps ensure there are no lumps in the final yogurt.
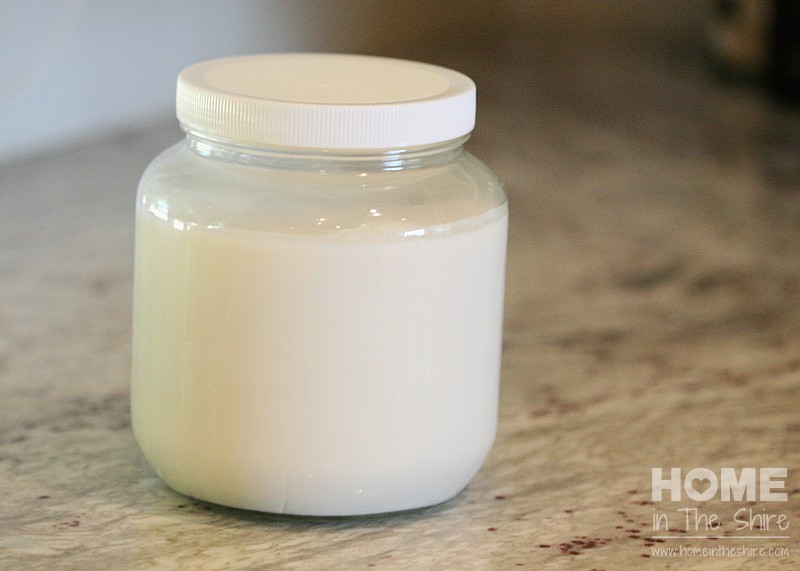
Add warm water to the appropriate mark in the yogurt maker and plug it in. (I really love this yogurt maker. I am so glad I chose to go with this one!) Then put the lid on, gently set the jar into the yogurt maker, and put the cover on. Coconut yogurt takes longer than dairy yogurt. I let it sit anywhere from 8-24 hours. It will separate, but that’s fine. Just stir it well and refrigerate.
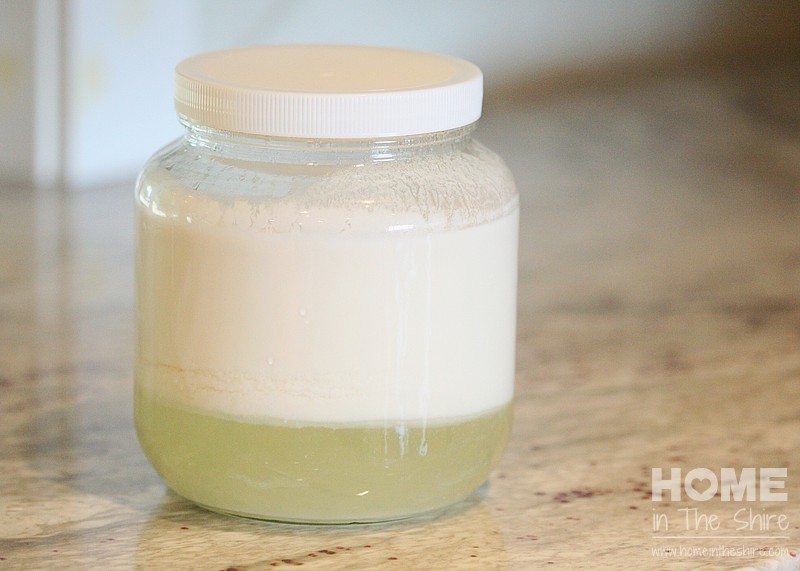
After you stir it up, it will seem VERY thin. It doesn’t set like dairy yogurt, which is why we added the gelatin. It will need to be refrigerated before you will see it set. This is what makes gelatin tricky – you won’t know until you’re done whether you’ve gotten the amount right. My last batch was still very thin after several hours, but by the next day it had really firmed up. My mom said the texture was similar to greek yogurt. In truth, the gelatin does give it a slightly “jiggly” appearance, and you’ll have to experiment to see exactly how much gelatin to add to get your desired consistency.
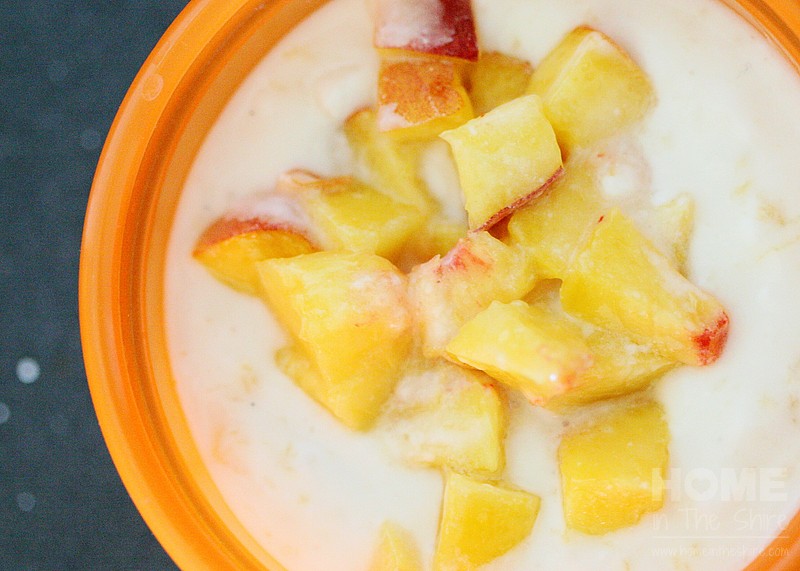
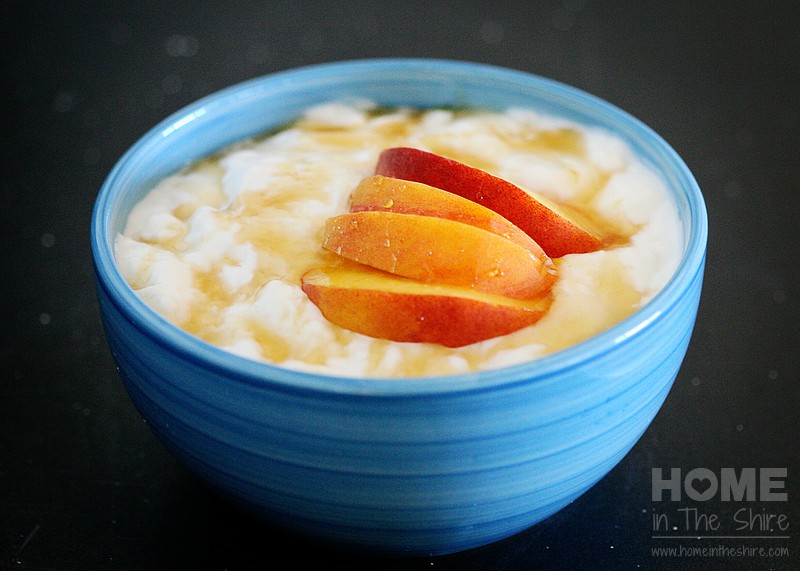
As a treat for my girls I added some homemade peach jam. (Perhaps I’ll share that recipe another time.) I also topped it with some fresh chopped peaches. They absolutely love it. And I love that they are getting the health benefits of coconut, probiotics, and gelatin all in one yummy snack!
Enjoy!
Supplies I used:
Glass Jar Insert (not necessary, but I prefer this one to the plastic one that comes with the yogurt maker)
Yogurt Starter (I chose this one, but you can use whatever you prefer. You may need to adjust the amount of starter.)
- 2 Qt. Coconut Milk
- 3 T. Honey
- 1 T. Gelatin (adjust to achieve desired consistency)
- ½ t. yogurt starter (may vary with type of starter)
- Sterilize your containers and utensils with boiling water.
- Bring coconut milk to 180 degrees, then remove from heat.
- Add honey and stir well.
- Remove ½ cup of the milk and cool in the refrigerator.
- Sprinkle gelatin over the cooled milk, allow to "bloom" and then mix well.
- Return the gelatin mixture to the still hot milk, and stir really well until all the gelatin is dissolved.
- Cover the coconut milk and place in a sink full of cool water.
- When the coconut milk reaches 100 degrees, remove about ½ cup and mix in the starter.
- Return the mixture to the cooled milk and stir really well to combine.
- Pour the mixture through a strainer into your yogurt jar.
- If you are using the Yogourmet, add warm water to the appropriate mark and plug it in.
(Otherwise follow the directions for your particular yogurt maker.) - Gently set the jar of milk into the yogurt maker, cover, and let sit for 8-24 hours.
- When yogurt is done, stir really well, and put it in the refrigerator for several hours for the gelatin to set.
- Sweeten to taste and enjoy!
*This post contains affiliate links. When you order through my blog I receive a small commission which helps my family. And, it doesn’t cost you any more than it would if you typed the item into amazon yourself. I appreciate your support. And, of course, I would never suggest a product I didn’t fully recommend!


One Comment
Sandra Wiegand
Thank you so much for this recipe for coconut yogurt and including a recipe for the coconut milk to be used to make it. I’ve tried several coconut yogurt recipes that haven’t turned out well. My daughter was diagnosed with CD six weeks ago, and I want her to enjoy a creamy smooth 24 hour coconut yogurt. Yours is a winner.